If you are using RAW files to take your pictures, you could do lots of modifications on your pictures after your pictures are being taken. Most people use Photoshop (PS) as a tool. I had used PS version 7 for JPG files from around 2002-2014. I had also used Nikon Capture Editor 4.3.0 for NEF files from 2005-2014. I haven't used them much since then. Yesterday I just tried Corel "After Shot Pro 3" and find that After Shot Pro 3 is much easier to use than PS and Nikon Capture Editor. Sometimes, just one mouse click, you work is done. I did not have to use youtube to learn. When I was using PS, I had to buy several books to learn how, though my favorite book was only one titled "50 Photoshop 7 Techniques". That is the difference! Among other things, it is much cheaper than PS Elements and Light room (both are aroung $100, Photoshop is $240). I bought my After Shot along with Corel Painter for around $20 in April, 2022.
Here is how to use After Shot:
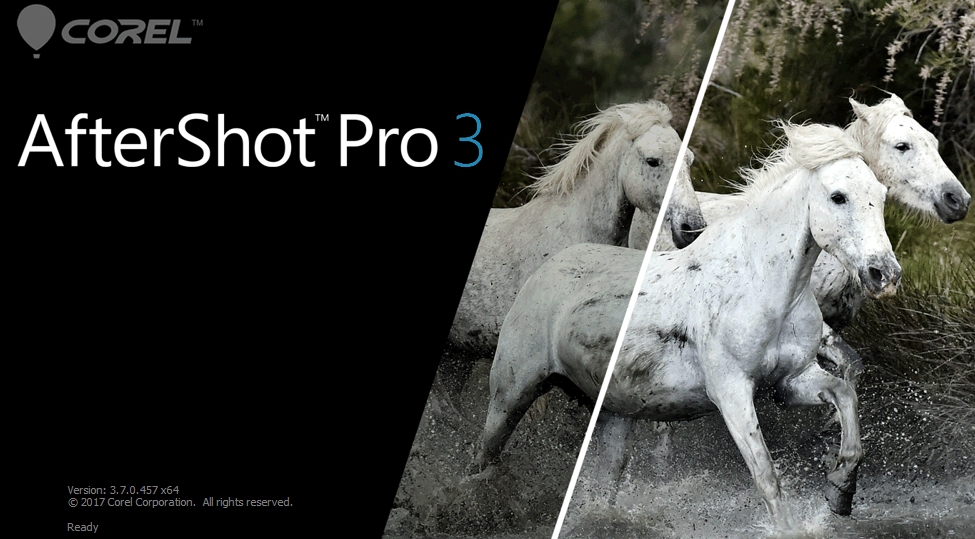
1. Click on the installed program icon  from After Shot, you get:
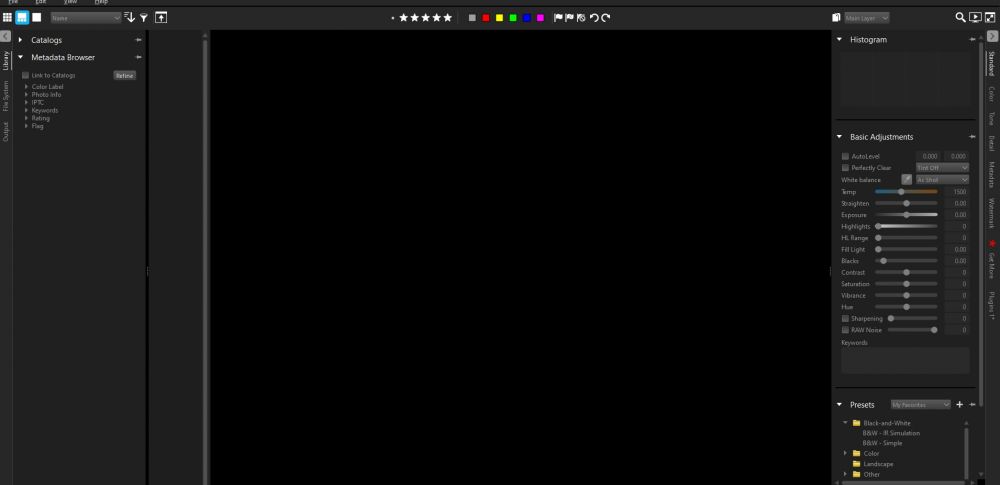
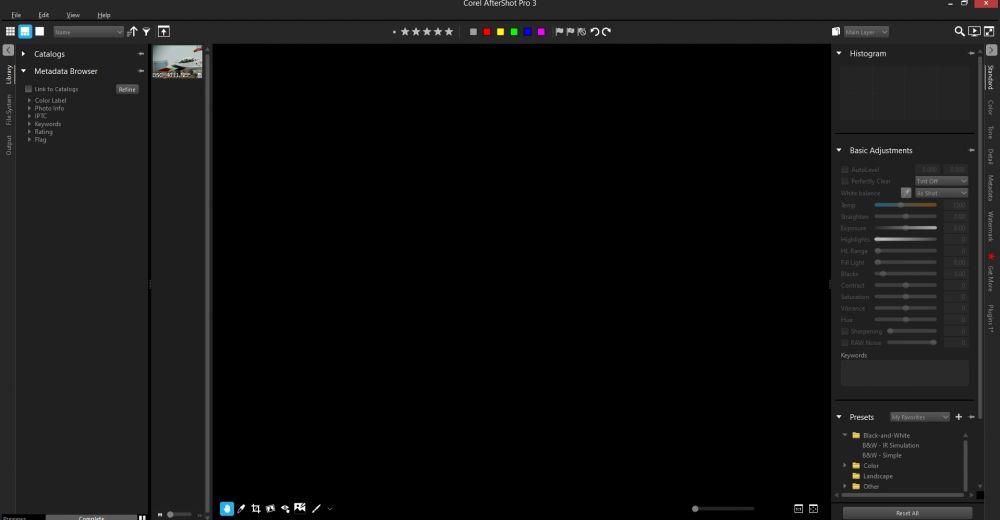
2. Main program:
3. Click on File at the upper left corner of the program, and then click on New Catalog, you will get:
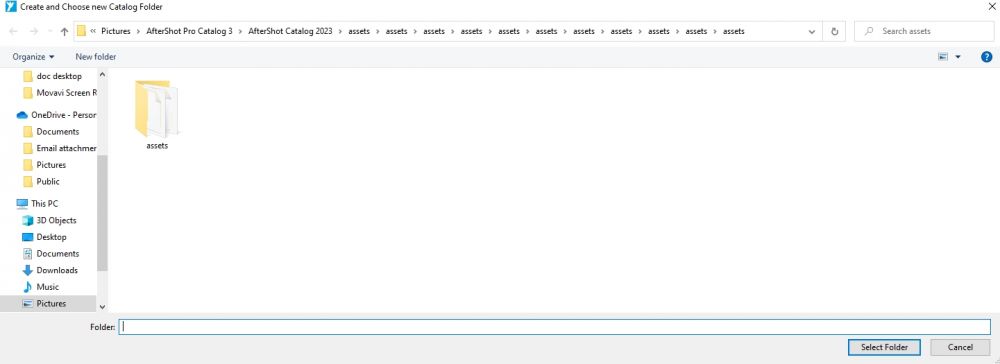
4. Click on Accets folder, you will get:
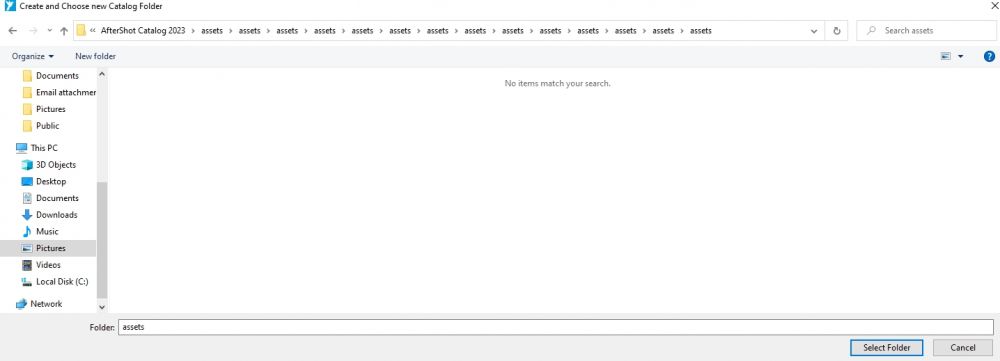
5. Click on Select Folder at the lower right corner, you will get a screen like item #2, click on File, then click on Open File, choose a file:

then you will get the following screen. Notice that your picture is a small one at the upper left side of the screen:
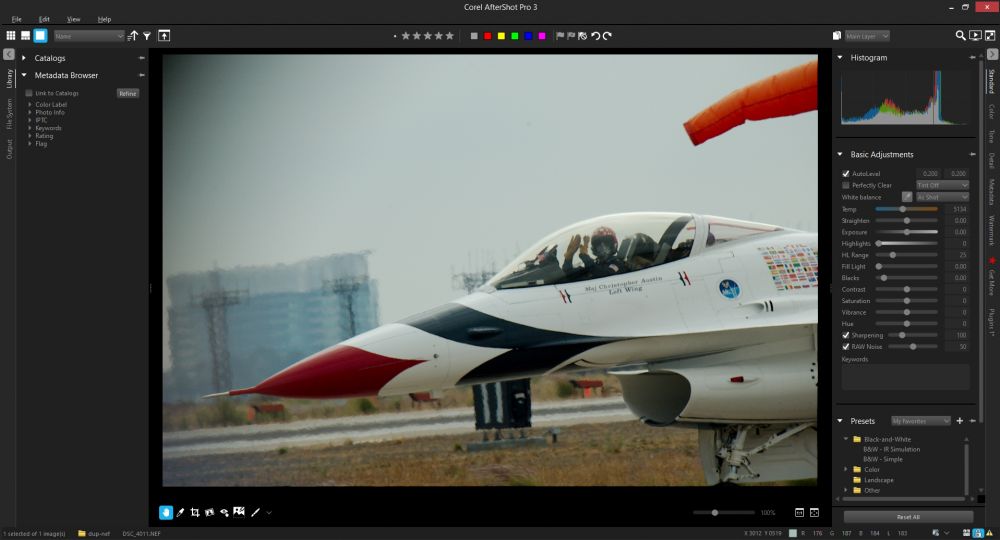
6. Click on the picture, the picure is now in the right panel:
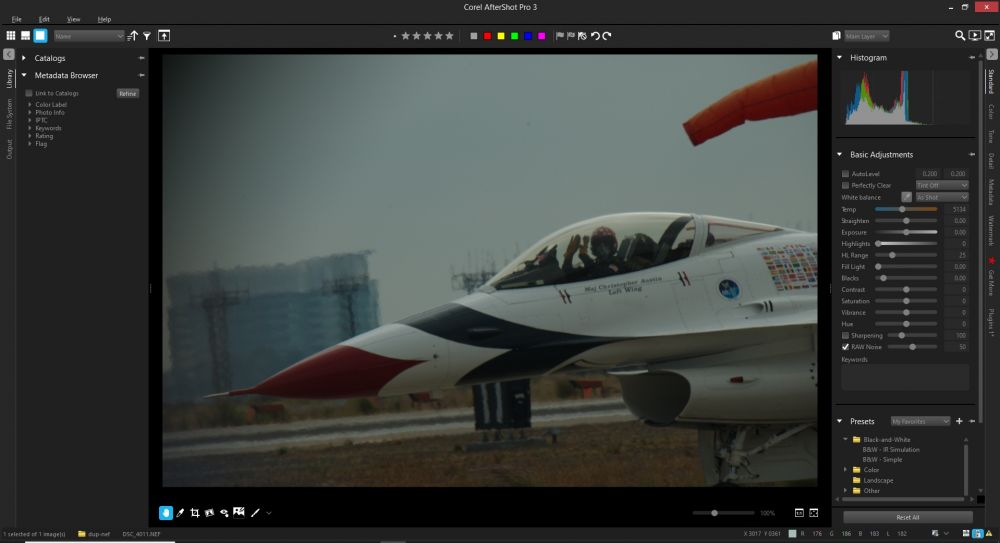
7. Just click on Auto Level under the Basic Adjustments on the right side of your screen, you will immediately get:
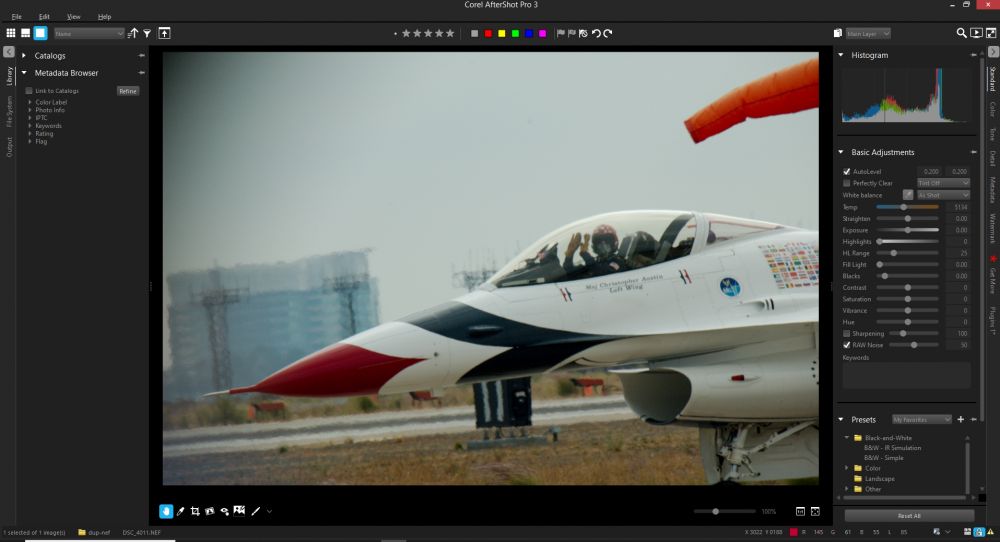
8. You could adjust the sharpness by clicking on the sharpness square, moving your cursor with ball to achieve the sharpness you need. The following is with Auto Level OFF but with Sharpness to the maximum level:

The following is with Auto Level ON but with Sharpness to the maximum level:
9. you could save your work, click on File, then click on Export, you will get:
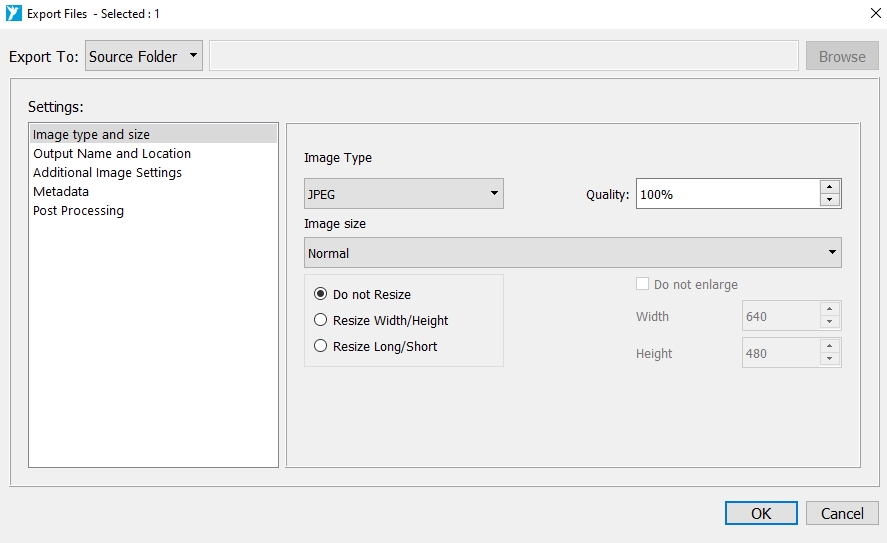
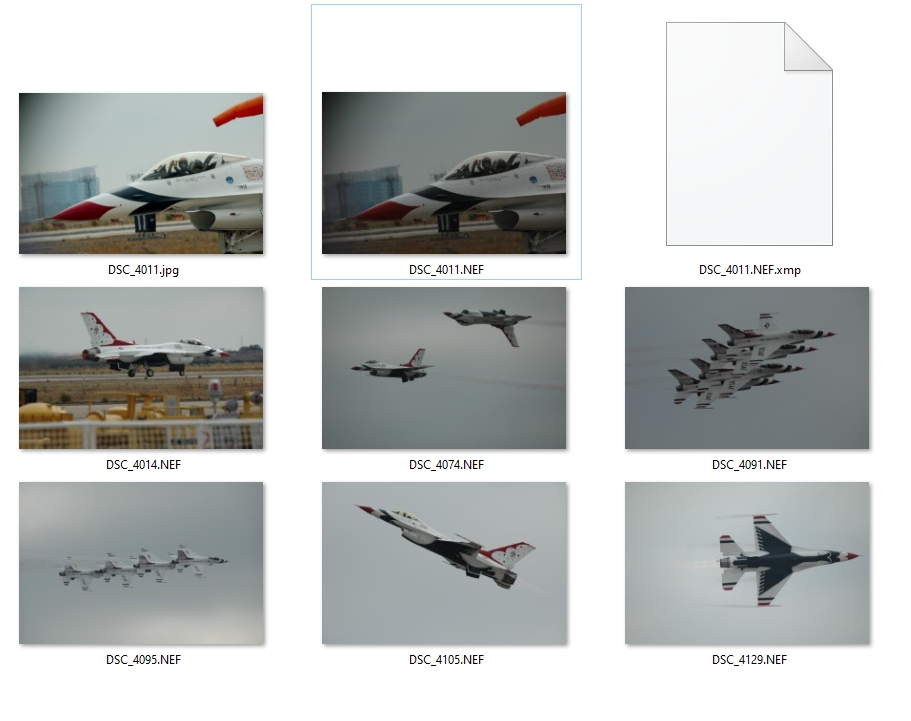
10. Click on OK, you will get your picture in the same folder from your RAW file, notice that you now have a JPG file in your RAW folder:
11. go to File than click on Exit. (I could not figure out how not to exit and edit another file, so I exit the program instead).
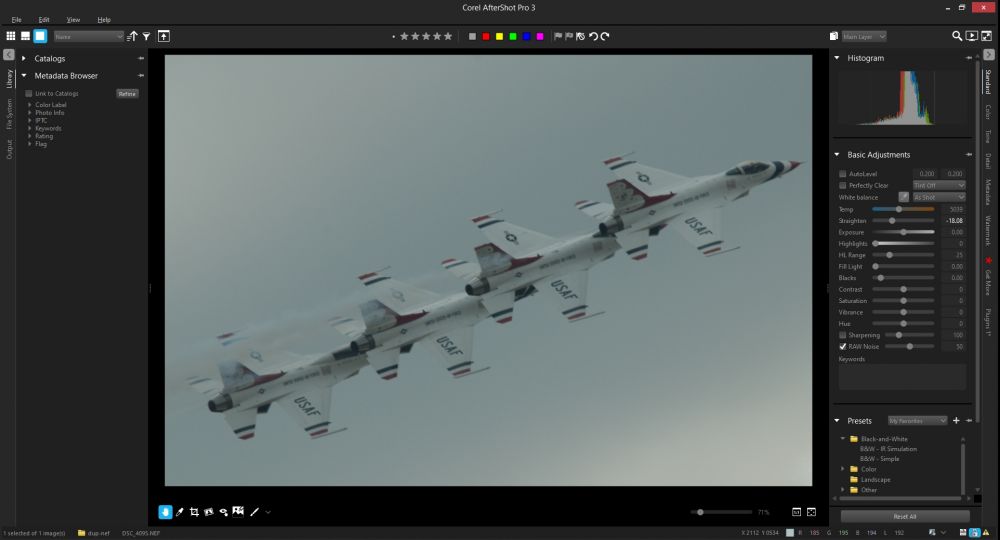
12. One more easy treatment: change the angle of your picture. Using the same steps above from item 1 to 10, you could also change the angle of your picture from this:
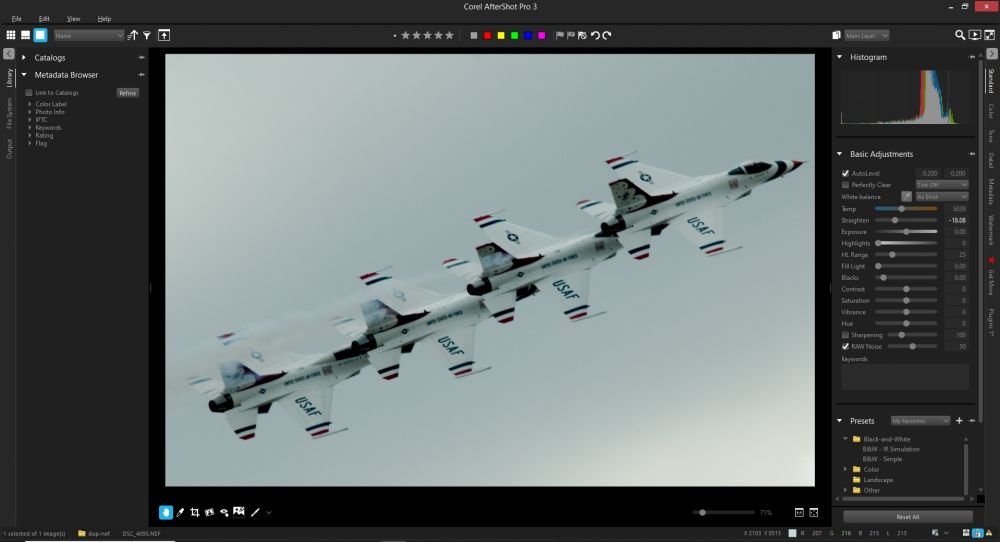
to this just by moving you cursor along with the ball in "Straighten" in Basic Adjustments:
with Auto Level on:
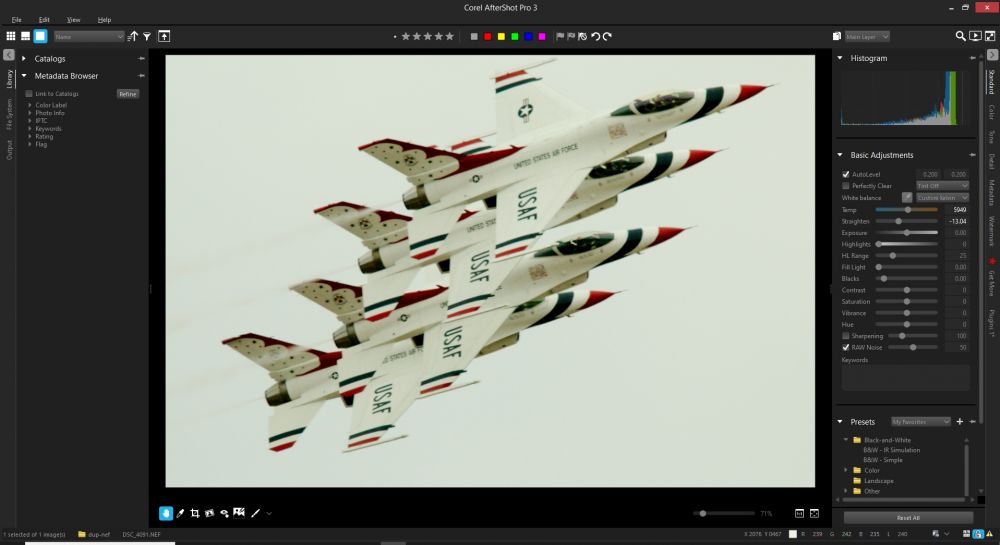
13. Second example of changing the angle:
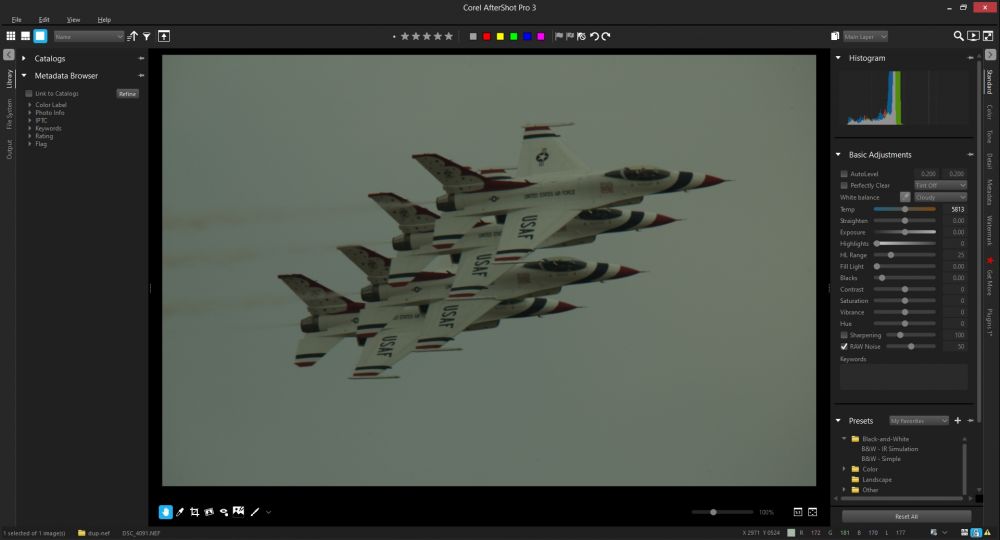
to this, with Auto Level ON, Straiten ON, Tempature has been changed a little bit, a little bit warm:
Thank you for viewing.