This is depending on the type of Network Interface Card (NIC) you have. If you have a card that doesn’t support Clone MAC address, then you have to go to second method.
Go to Start->Settings->Control Panel and double click on Network and Dial-up Connections.
Right click on the NIC you want to change the MAC address and click on properties.
Under “General” tab, click on the “Configure” button
Click on “Advanced” tab
Under “Property section”, you should see an item called “Network Address” or "Locally Administered Address", click on it.
On the right side, under “Value”, type in the New MAC address you want to assign to your NIC. Usually this value is entered without the “-“ between the MAC address numbers.
Goto command prompt and type in “ipconfig /all” or “net config rdr” to verify the changes. If the changes are not materialized, then use the second method.
If successful, reboot your systems.
Method 2:
This method requires some knowledge on the Windows Registry. If you are not familiar with Windows Registry, just use the SMAC tool to change the MAC addresses, or consult with a technical person before you attempt on the following steps. Also, make sure you have a good backup of your registry.
a. Goto command prompt and type “ipconfig /all”, and
I. Record the Description for the NIC you want to change.
II. Record the Physical Address for the NIC you want to change. Physical Address is the MAC Address
figure 1.
b. Goto command prompt and type “net config rdr”, and you should see something like
figure 2.
c. Remember the number between the long number (GUID) inside the { }. For example, in the above “net config rdr” output, for MAC address “00C095ECB793,” you should remember {1C9324AD-ADB7-4920-B02D-AB281838637A}. You can copy and paste it to the Notepad, that’s probably the easiest way. (See figure 2.)
d. Go to Start -> Run, type “regedt32” to start registry editor. Do not use “Regedit.”
e. Do a BACKUP of your registry in case you screw up the following steps. To do this
I. Click on “HKEY_LOCAL_MACHINE on Local Machine” sub-window
II. Click on the root key “HKEY_LOCAL_MACHINE”.
III. Click on the drop-down menu “Registry -> Save Subtree As” and save the backup registry in to a file. Keep this file in a safe place.
f. Go to “HKEY_LOCAL_MACHINE\SYSTEM\CurrentControlSet\Control\Class\{4D36E972-E325-11CE-BFC1-08002BE10318}. Double click on it to expand the tree. The subkeys are 4-digit numbers, which represent particular network adapters. You should see it starts with 0000, then 0001, 0002, 0003 and so on. (See figure 3.)
Figure 3.
g. Go through each subkey that starts with 0000. Click on 0000, check DriverDesc keyword on the right to see if that's the NIC you want to change the MAC address. The DriveDesc should match the Description you recorded from step (a.-I.). If you are not 100% sure about the DriverDesc, then you can verify by checking if the NetCfgInstanceID keyword value matches the GUID from step (c).
If there is no match, then move on to 0001, 0002, 0003, and so on, until you find the one you want. Usually 0000 contains the first NIC you installed on the computer.
In this demonstration, 0000 is the NIC I selected. (See figure 3.)
h. Once you selected the subkey (i.e. 0000), check if there is a keyword "NetworkAddress" exist in the right side of the window. (See figure 3.)
I. If "NetworkAddress" keyword does not exist, then create this new keyword:
i. Click on the drop down menu “Edit -> Add Value”.
ii. In the Add Value window, enter the following value then click OK. (See figure 4.)
Value Name: = NetworkAddress
Data Type: = REG_SZ
Figure 4.
iii. String Editor window will pop up at this time (see figure 5.)
iv. Enter the new MAC address you want to modify. Then click OK.
(There should not be any "-" in this address. Your entry should only consist of 12 digits as seen in the figure 5.)
II. If "NetworkAddress" keyword exists, make sure it shows the keyword type is REG_SZ, and it should show as NetworkAddress:REG_SZ: . This keyword might not have a value at this time.
i. Double click on the keyword NetworkAddress and the String Editor window will pop up. (See Figure 5.)
ii. Enter the new MAC address you want to modify. Then click OK.
(There should not be any "-" in this address. Your entry should only consist of 12 digits as seen in the figure 5.)
Figure 5.
j. There are 2 ways to make the new MAC address active. Method I does not require a system reboot:
I. Goto Start->Setting->Control Panel, and double click on "Network Neighborhood".
WARNING: Make sure you understand that you WILL lose the network connection after completing step "ii." below, and
if you have a DHCP client, you will get a new IP address after completing step "iii."
i. Select the Network Adaptor you just changed the MAC address.
ii. Right click on the selected Network Adaptor and click "Disable."
Verify the status column for this adaptor changes to "Disabled"
iii. Right click on the selected Network Adaptor and click "Enable."
Verify the status column for this adaptor changes to "Enabled"
iv. If for any reason it cannot be disabled or re-enabled, you have to
reboot your system to make the changes effective.
II. Reboot your Windows system.
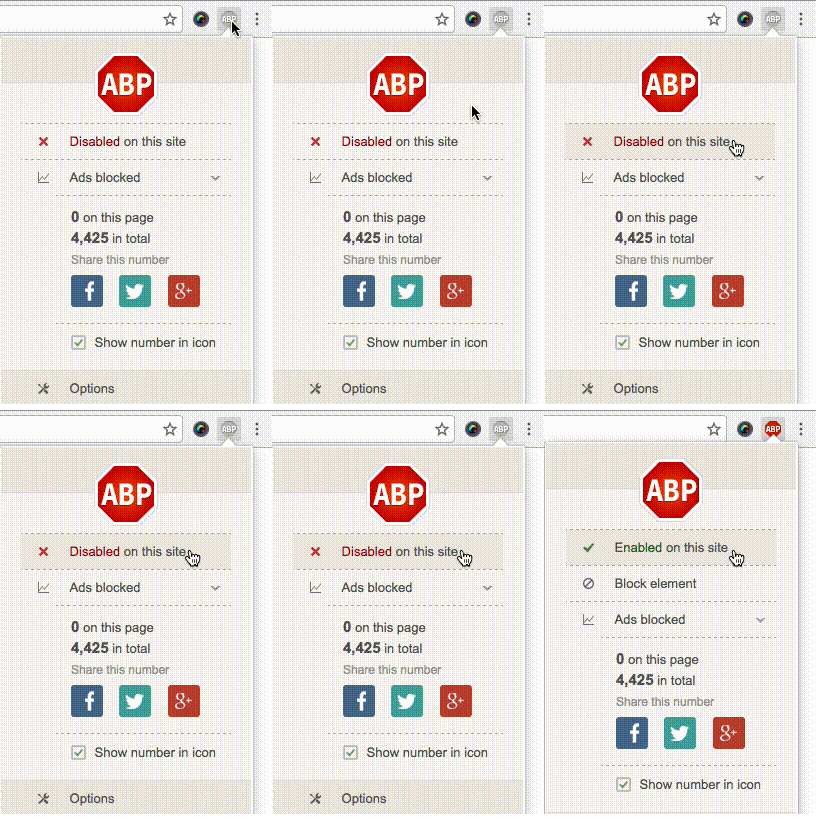
 选择“Disable on www.wenxuecity.com”
 选择“don't run on pages on this domain”

